How do I install Node.js and NPM on Windows and Mac?
Rohan Roy
Jan 10, 2025
Web Development
Introduction
As the online development environment booms, scalable, rapid, and reliable applications will be developed using Node.js and NPM, the Node Package Manager. One language can be employed on the server as well as the client side because Node.js is an open-source JavaScript runtime environment for the execution of JavaScript on the server side. It simplifies and speeds up the development process.
Secondly, NPM is a package manager that additionally simplifies the installation, update, and control of libraries and tools needed for JavaScript development. With over a million packages, NPM is a must-have in modern JavaScript workflows since it provides a simple interface to search for and include prebuilt modules in projects.
If your app is Windows or macOS-based, you need to install Node.js and NPM first to work outside of a browser using JavaScript. We'll go into all the details on installing and troubleshooting Node.js and NPM for both platforms. Ultimately, you'll be armed with these tools to shorten the time needed to build your argument on both macOS and Windows.
What are Node.js and NPM?
Developers can run JavaScript as a server-side runtime environment because of Node.js, another appealing open-source runtime. Historically, JavaScript usage has been restricted to purely client-side scripting in Web browsers, but Node.js allows developers to use their language knowledge when building scalable, fast web server applications. Node is an extremely fast and lightweight way to build real-time applications such as chat servers, APIs, and more since it is specifically designed using Chrome's V8 JavaScript engine.
One unique feature of Node.js is its non-blocking, event-driven design, which supports the execution of multiple requests without waiting for a first step to be over before kicking off another one. These applications tend to be IO-intensive and include databases, web servers, and APIs.
NPM, or Node Package Manager, is the package manager that comes with Node.js. Developers should use it to manage third-party libraries and dependencies necessary for their applications when working with Node.js. Through NPM, developers have access to an enormous package registry to enhance the functionality of their projects. With NPM, developers can install, update, and remove packages from the CLI directly. The convenience and power make the tool so valuable for streamlining development workflows.
NPM uses two significant commands: npm install, which installs packages in a project (using the shorthand npm i), and npm update to update the packages to their latest versions. NPM makes maintenance and project management easier, meaning that developers can focus more on writing code rather than handling manual dependency management.
Node.js and NPM are vital components of modern web development, which offers the power, flexibility, and tools needed to build robust, scalable applications.
Prerequisites for Installation
Before setting up Node.js and NPM on your system, a few essential pre-requirements are necessary for easy installation and setup.
Operating System: Be sure you're on a supported version of either Windows or macOS. All modern versions of those systems are supported for running Node.js and NPM. For Windows, you can use versions 7 and above; for Mac, make sure you are at or above macOS 10.10.
Command Line Interface (CLI): One needs to understand how to use the command line interface to run the Node.js commands and, hence, to verify the installation. The Terminal on the Mac and Command Prompt or PowerShell on Windows do that.
Administrator access: You should acquire it on each system to let Node.js be installed, where one can set the environment variable NODE_HOME.
Optional Tools: In case you have to maintain more than one version of Node.js, tools such as NVM for macOS and Linux or Homebrew for macOS make this quite a manageable process.
Step-by-Step Installation Guide for Windows
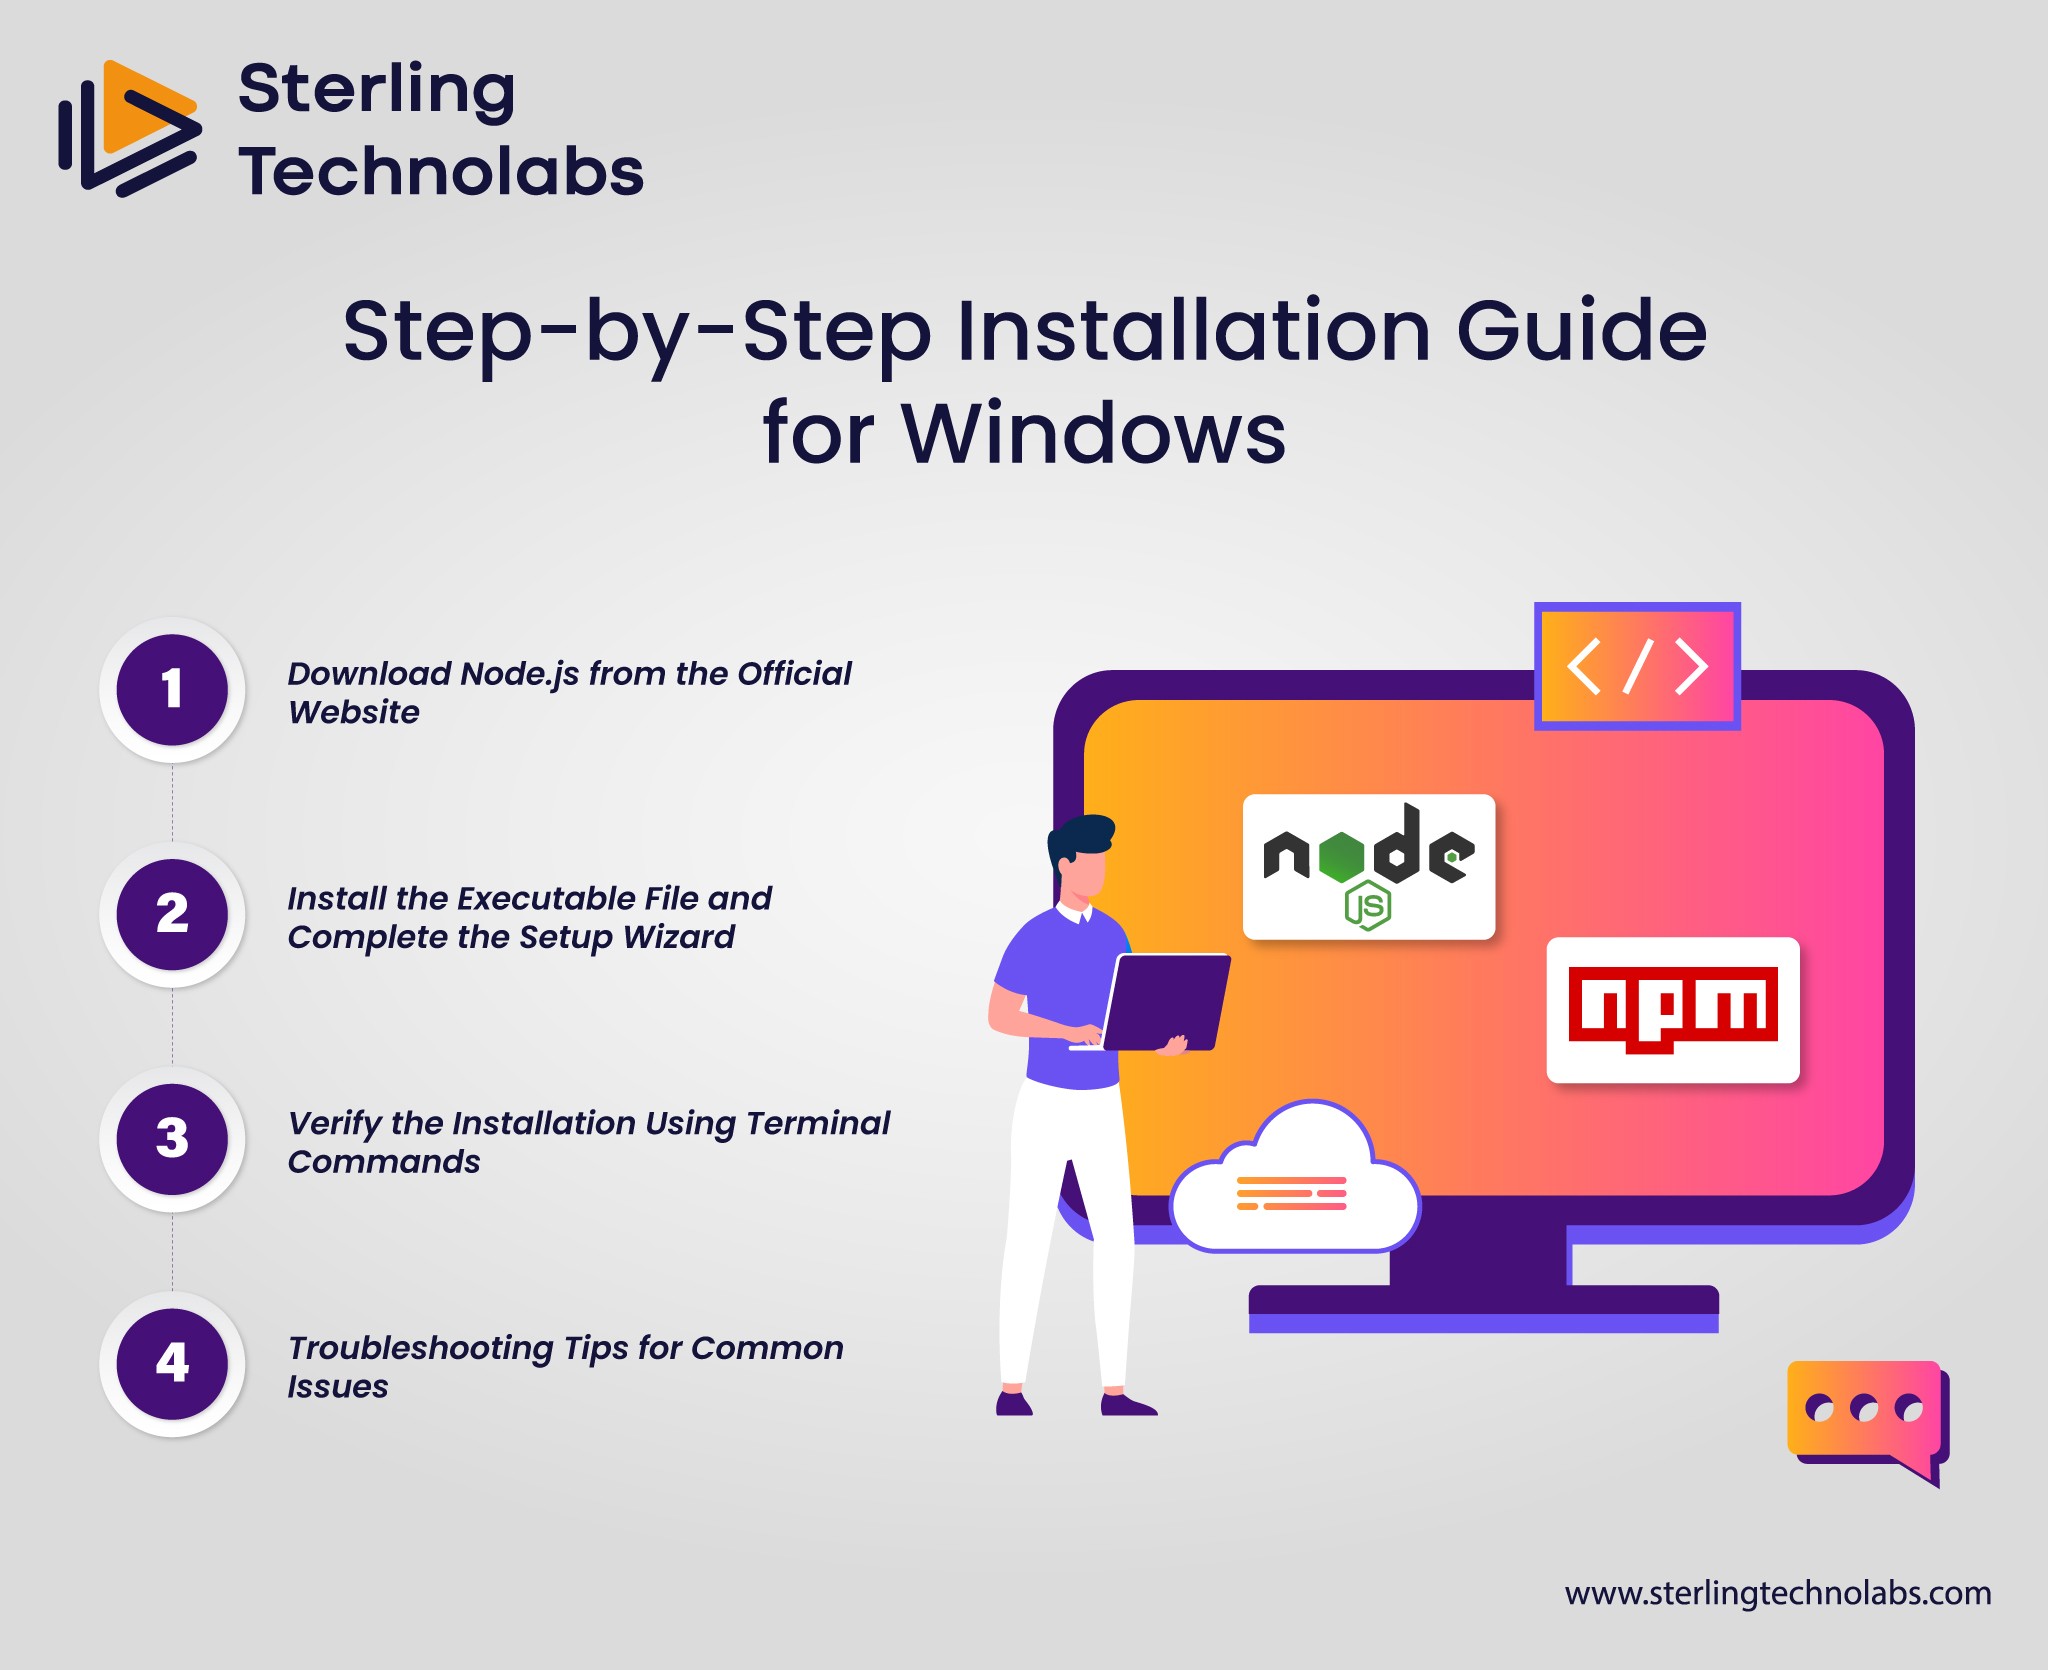
It's not very hard to install Node.js and NPM, the Node Package Manager, on a Windows system. Node.js is used to run JavaScript code outside of a browser, and NPM is used to manage and install JavaScript packages. Here is a step-by-step guide on how to get both up and running on your Windows machine:
Download Node.js from the Official Website
Let's start by going to the official Node.js website: nodejs.org. On the main page, there are two download options: LTS and Current. The LTS version is recommended for most developers because it is more stable than the current one.
To download the.msi installation file for Windows, click on the Windows Installer. The download will start automatically.
Install the Executable File and Complete the Setup Wizard
Download the installer file and follow these instructions:
Run the Installer: Double-click the .msi file to run the installation wizard.
Accept the License Agreement: You would be prompted to read the terms of the software license agreement and accept them.
Choose Installation Options: You can accept the default selections unless you have a particular reason for changing them. The default selections include:
Installing Node.js and NPM.
Adding Node.js to your system’s PATH (this is essential for running it from the command line).
Select Destination Folder: Choose the folder to which you wish to install Node.js. Defaults generally suffice for ordinary users.
Begin the Installation: To start the installation, just click on the Install button. It may take a while.
Complete the installation: Click Finish to end the setup wizard after all installations are completed.
Verify the Installation Using Terminal Commands
Open Command Prompt (press Windows + R, then type cmd and press Enter).
In the Command Prompt, check that Node.js is installed correctly by typing this command and then pressing Enter.
bash
node -v
It should return a version number of Node.js, like this: v16.14.0
To confirm the version of NPM installed on your computer, type the following command:
bash
npm -v
This will return a version number for NPM, such as 8.3.0.
It implies that Node.js and NPM have been successfully installed on your system if both versions appear correctly.
Troubleshooting Tips for Common Issues
Here are a few tips for troubleshooting in case any issues come up during the installation process:
NPM Commands Not Recognized: Node.js was not correctly added to the system PATH variable if the command for npm doesn't recognize it. This is manually added from System Properties > Environment Variables > editing the PATH variable by including the path in which the Node.js was installed in the system, like C:\Program Files\nodejs\.
Permission Problems: If you are encountering permission problems when installing, try to run the installer as an administrator. To do so, right-click on the.msi file and click Run as administrator.
Outdated version of npm: Sometimes, NPM fails to update automatically. It can be updated using a command like this one:
bash
npm install -g npm@latest
By following these steps, you should have Node.js and NPM set up on your Windows machine and ready for use in your JavaScript development projects.
Step-by-Step Installation Guide for macOS
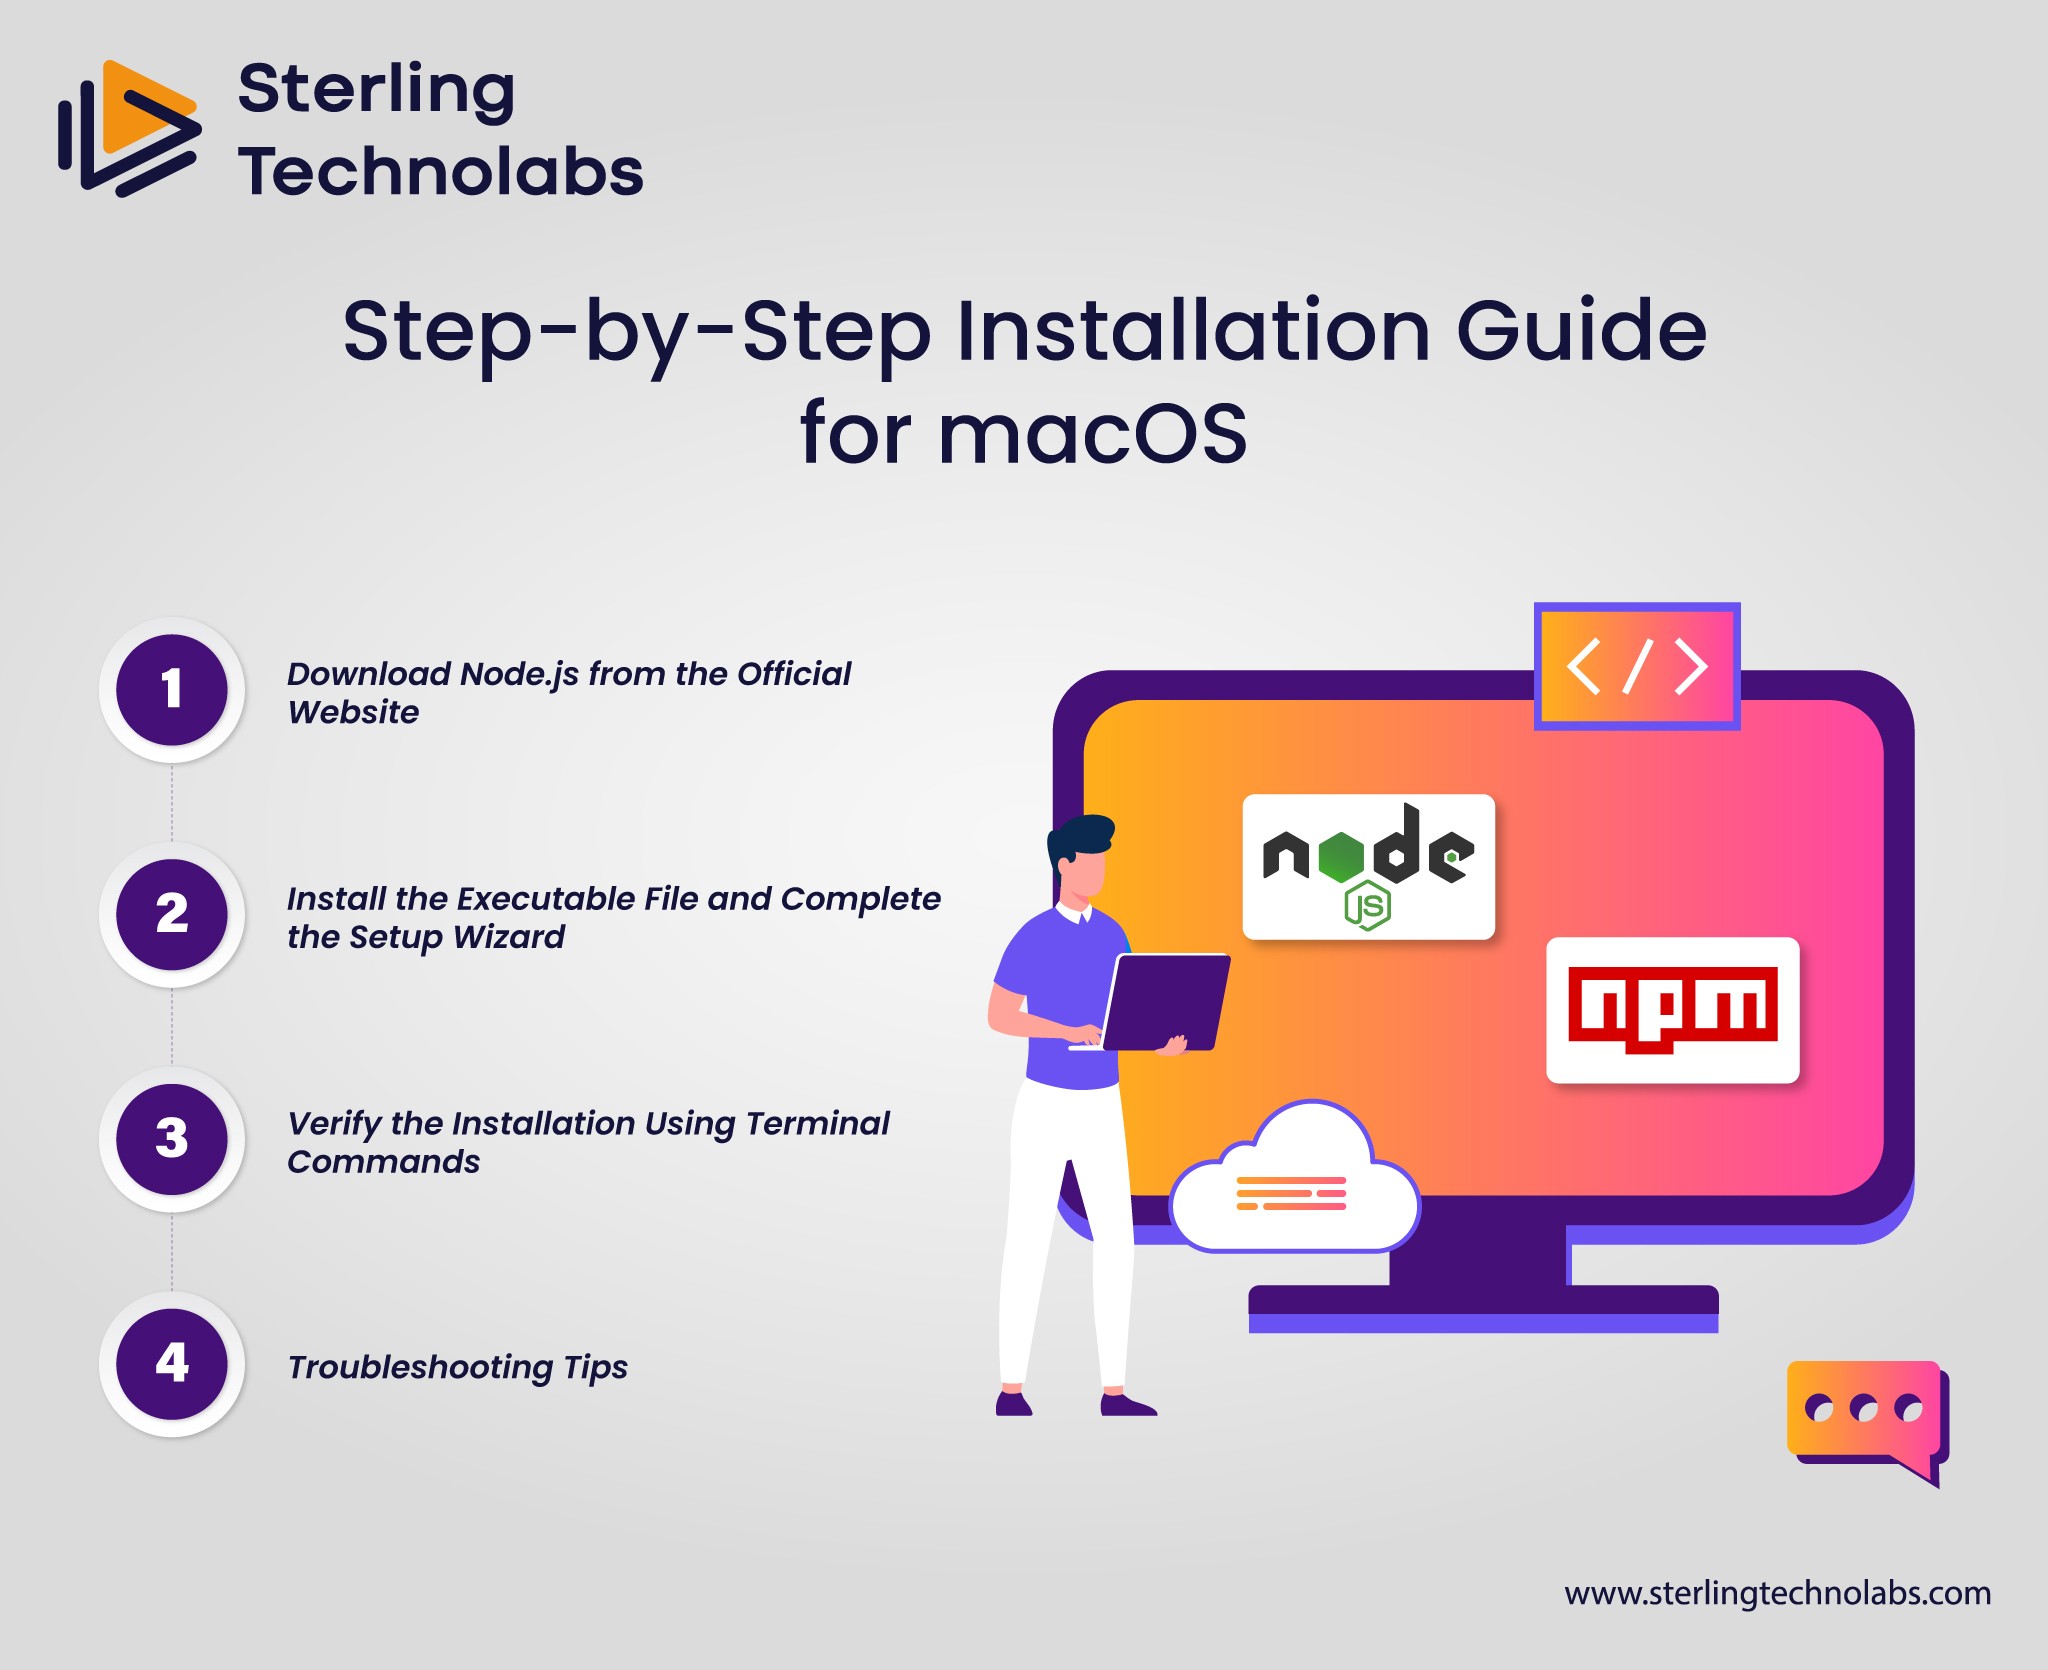
The process for installing Node.js and NPM on macOS is pretty simple and opens your entire world of possibilities working in JavaScript, regardless of whether you build a full-stack application or merely manage backend services with an assortment of command-line tools. Here's how to install them on your system running macOS:
Download Node.js from the Official Website
To start installing Node.js and NPM on macOS, download the official macOS installer from the Node.js website. Proceed to download the macOS installer from the Node.js download page.
You will have two choices:
LTS: This version is actually suggested for use by the majority of users. It is pretty stable and reliable in delivering Node.js.
Current: This is the newest version with the latest features, but it may not be as stable as the LTS version.
Download the.pkg file by clicking on the macOS Installer option.
Install the Executable File and Complete the Setup Wizard
As soon as the.pkg is downloaded, you can easily locate the file in the download folder and double click to start the installation procedure. This will launch Node.js installer.
Installation can be done with a single-step setup wizard process with a few steps.
Step 1: Confirm whether it allows you to begin your installation process. Continue it
Step 2: Click Agree if you understand that you accept the agreement provided by the software.
Step 3: After this, the installer will show you the installation location. Choose the default or a custom location, according to your preference, and click Install.
Step 4: You may have to enter your macOS password. Enter your password, then click Install Software.
Step 5: Upon successful installation, click Close to complete the installation.
By this point, Node.js and NPM are installed in your system, and you are ready to confirm the installation.
Verify the Installation Using Terminal Commands
You will require the use of Terminal in order to make sure Node.js and NPM are installed correctly—open Terminal for macOS.
In order to check out which version is installed in Node.js, just type:
bash
node -v
You will then see a message indicating the version of Node.js installed on your system, which indicates that the installation was a success.
To check which version of NPM has been installed in your system, type the following command in Terminal:
bash
npm -v
This will show the version of NPM, which will confirm that the Node Package Manager is also installed correctly.
Troubleshooting Tips
Sometimes, you will find something wrong with the installation or verification process. These are some of the most commonly used troubleshooting tips:
Path Problems: If you get command-not found with the attempts to node -v or npm-v, then it's possible installation is unsuccessful and that not updating the PATH environment variable by changing and following the below way will get it
Open the Terminal and use the following command:
bash
export PATH=$PATH:/usr/local/bin
This ensures that the Node.js binaries are included in your system's search path.
You can also put this line in your.bash_profile or.zshrc file, which is shell-dependent, to make the changes permanent.
Reinstall Node.js: If the macOS installer looks corrupt or incomplete, rerun it. This will overwrite all the broken files.
Once you have done this, you should have Node.js and NPM installed on your macOS system and be set to use them in all your development projects.
Common Installation Errors and Solutions
People sometimes face a few typical troubles when installing Node.js and NPM under Windows or macOS. Here is a selection of some of them, as well as their solutions:
Missing Environment Variables
One of the most frequent issues on Windows is system failure to recognize Node.js or NPM commands from the command prompt. The reason for this problem lies in the installation, which does not add a node automatically to the system's PATH. To resolve this, manually set the NODE_HOME variable in the environment settings and add C:\Program Files\nodejs\ to the PATH.
NPM Permissions Errors (Mac)
On macOS, installing packages with NPM globally can cause permission issues. The problem is usually resolved by changing the directory permissions or using a version manager like NVM that can handle installations in a non-system folder.
Version Mismatch
Sometimes, the version of Node.js and NPM may not match or fail in an update. If problems persist with versions, make sure to use NVM or Node Version Manager and simply switch between different Node.js versions to ensure consistency.
Installation Failures in Command Prompt (Windows)
If you can't get Node.js to install on Windows using the Windows installer, ensure you downloaded the correct version (LTS or Current) and check for any compatibility issues with your system architecture being 32-bit or 64-bit.
Solving these problems on both Windows and macOS systems allows you to install Node.js and NPM uninterrupted.
Testing Your Installation
After successfully installing Node.js and NPM on your computer, you must test the installation process to confirm that everything went smoothly. You can test this by opening your Command Line Interface, whether Command Prompt for Windows users or Terminal for macOS.
Check Node.js version: In your terminal, type:
node -v
If Node.js is properly installed, you should see the version number displayed (e.g., v16.13.0).
Check NPM version: Similarly, to verify that NPM is installed, type:
npm -v
It should display the NPM version, indicating everything is correct with your Node Package Manager.
If you find both version numbers, your installation has been successful. Otherwise, make sure to check all installation steps and the PATH environment variable for Node.js and NPM.
Importance of Keeping Node.js and NPM Updated
Keeping Node.js and NPM updated is essential for keeping the development environment efficient and secure. The updates ensure that the latest optimizations and bug fixes are implemented in JavaScript. Updating Node.js gives developers access to improved performance, security patches, and new features that make their applications more stable and efficient. Similarly, updating NPM offers developers access to the latest features of Node Package Manager, faster package installations, and better dependency management.
This also reduces vulnerabilities in your project since old libraries and packages will not be exploited by malicious actors. This is very important in large applications where performance and security issues are key. Whether installing Node.js through a Windows Installer, macOS Installer, or NVM (Node Version Manager), keeping up with the regular updates for Node.js and NPM will help your development workflow run smoothly and securely on any platform.
Conclusion
In a nutshell, installing Node.js and NPM across Windows and macOS platforms has become easy. On the Windows platform, the Windows Installer automatically facilitates easy installation, while verification in terms of CLI confirms the actual set-up. On macOS, using the macOS Installer and other tools like Homebrew and NVM is more than sufficient. Within just a few commands, you could then quickly begin using Node.js for JavaScript development and NPM to manage your packages and smooth up your workflow.

FAQs
Q: How do I check if Node.js and npm are already installed on my system?
A: Open your terminal or command prompt and run the following commands to check if Node.js and npm are installed:
Node -v for the version of Node.js, and
npm -v for the version of npm. Versions will appear if installed.
Q: How do I update Node.js and npm to the latest versions on Windows and Mac?
A: To update Node.js, get the most recent version on the website and install the same using the installer provided. For npm, use this command to update to the latest: npm install -g npm@latest from your terminal or command prompt.
Q: How do I uninstall Node.js and npm if needed?
A: On Windows, click "Add or Remove Programs" from the Control Panel. On macOS, a simple way to delete this installation is to delete both Node.js binaries and linked npm files from your Mac system. You can install with Homebrew as: brew uninstall node.
Q: What are the system requirements for installing Node.js and npm on Windows and Mac?
A: You should use Windows 7 or newer with a minimum of 1 GB of RAM and a processor speed of 1 GHz. For the macOS operating system, Node.js will work there on 10.10 or greater with a minimum of 1 GB of RAM and a 64-bit processor.
Introduction
As the online development environment booms, scalable, rapid, and reliable applications will be developed using Node.js and NPM, the Node Package Manager. One language can be employed on the server as well as the client side because Node.js is an open-source JavaScript runtime environment for the execution of JavaScript on the server side. It simplifies and speeds up the development process.
Secondly, NPM is a package manager that additionally simplifies the installation, update, and control of libraries and tools needed for JavaScript development. With over a million packages, NPM is a must-have in modern JavaScript workflows since it provides a simple interface to search for and include prebuilt modules in projects.
If your app is Windows or macOS-based, you need to install Node.js and NPM first to work outside of a browser using JavaScript. We'll go into all the details on installing and troubleshooting Node.js and NPM for both platforms. Ultimately, you'll be armed with these tools to shorten the time needed to build your argument on both macOS and Windows.
What are Node.js and NPM?
Developers can run JavaScript as a server-side runtime environment because of Node.js, another appealing open-source runtime. Historically, JavaScript usage has been restricted to purely client-side scripting in Web browsers, but Node.js allows developers to use their language knowledge when building scalable, fast web server applications. Node is an extremely fast and lightweight way to build real-time applications such as chat servers, APIs, and more since it is specifically designed using Chrome's V8 JavaScript engine.
One unique feature of Node.js is its non-blocking, event-driven design, which supports the execution of multiple requests without waiting for a first step to be over before kicking off another one. These applications tend to be IO-intensive and include databases, web servers, and APIs.
NPM, or Node Package Manager, is the package manager that comes with Node.js. Developers should use it to manage third-party libraries and dependencies necessary for their applications when working with Node.js. Through NPM, developers have access to an enormous package registry to enhance the functionality of their projects. With NPM, developers can install, update, and remove packages from the CLI directly. The convenience and power make the tool so valuable for streamlining development workflows.
NPM uses two significant commands: npm install, which installs packages in a project (using the shorthand npm i), and npm update to update the packages to their latest versions. NPM makes maintenance and project management easier, meaning that developers can focus more on writing code rather than handling manual dependency management.
Node.js and NPM are vital components of modern web development, which offers the power, flexibility, and tools needed to build robust, scalable applications.
Prerequisites for Installation
Before setting up Node.js and NPM on your system, a few essential pre-requirements are necessary for easy installation and setup.
Operating System: Be sure you're on a supported version of either Windows or macOS. All modern versions of those systems are supported for running Node.js and NPM. For Windows, you can use versions 7 and above; for Mac, make sure you are at or above macOS 10.10.
Command Line Interface (CLI): One needs to understand how to use the command line interface to run the Node.js commands and, hence, to verify the installation. The Terminal on the Mac and Command Prompt or PowerShell on Windows do that.
Administrator access: You should acquire it on each system to let Node.js be installed, where one can set the environment variable NODE_HOME.
Optional Tools: In case you have to maintain more than one version of Node.js, tools such as NVM for macOS and Linux or Homebrew for macOS make this quite a manageable process.
Step-by-Step Installation Guide for Windows
It's not very hard to install Node.js and NPM, the Node Package Manager, on a Windows system. Node.js is used to run JavaScript code outside of a browser, and NPM is used to manage and install JavaScript packages. Here is a step-by-step guide on how to get both up and running on your Windows machine:
Download Node.js from the Official Website
Let's start by going to the official Node.js website: nodejs.org. On the main page, there are two download options: LTS and Current. The LTS version is recommended for most developers because it is more stable than the current one.
To download the.msi installation file for Windows, click on the Windows Installer. The download will start automatically.
Install the Executable File and Complete the Setup Wizard
Download the installer file and follow these instructions:
Run the Installer: Double-click the .msi file to run the installation wizard.
Accept the License Agreement: You would be prompted to read the terms of the software license agreement and accept them.
Choose Installation Options: You can accept the default selections unless you have a particular reason for changing them. The default selections include:
Installing Node.js and NPM.
Adding Node.js to your system’s PATH (this is essential for running it from the command line).
Select Destination Folder: Choose the folder to which you wish to install Node.js. Defaults generally suffice for ordinary users.
Begin the Installation: To start the installation, just click on the Install button. It may take a while.
Complete the installation: Click Finish to end the setup wizard after all installations are completed.
Verify the Installation Using Terminal Commands
Open Command Prompt (press Windows + R, then type cmd and press Enter).
In the Command Prompt, check that Node.js is installed correctly by typing this command and then pressing Enter.
bash
node -v
It should return a version number of Node.js, like this: v16.14.0
To confirm the version of NPM installed on your computer, type the following command:
bash
npm -v
This will return a version number for NPM, such as 8.3.0.
It implies that Node.js and NPM have been successfully installed on your system if both versions appear correctly.
Troubleshooting Tips for Common Issues
Here are a few tips for troubleshooting in case any issues come up during the installation process:
NPM Commands Not Recognized: Node.js was not correctly added to the system PATH variable if the command for npm doesn't recognize it. This is manually added from System Properties > Environment Variables > editing the PATH variable by including the path in which the Node.js was installed in the system, like C:\Program Files\nodejs\.
Permission Problems: If you are encountering permission problems when installing, try to run the installer as an administrator. To do so, right-click on the.msi file and click Run as administrator.
Outdated version of npm: Sometimes, NPM fails to update automatically. It can be updated using a command like this one:
bash
npm install -g npm@latest
By following these steps, you should have Node.js and NPM set up on your Windows machine and ready for use in your JavaScript development projects.
Step-by-Step Installation Guide for macOS
The process for installing Node.js and NPM on macOS is pretty simple and opens your entire world of possibilities working in JavaScript, regardless of whether you build a full-stack application or merely manage backend services with an assortment of command-line tools. Here's how to install them on your system running macOS:
Download Node.js from the Official Website
To start installing Node.js and NPM on macOS, download the official macOS installer from the Node.js website. Proceed to download the macOS installer from the Node.js download page.
You will have two choices:
LTS: This version is actually suggested for use by the majority of users. It is pretty stable and reliable in delivering Node.js.
Current: This is the newest version with the latest features, but it may not be as stable as the LTS version.
Download the.pkg file by clicking on the macOS Installer option.
Install the Executable File and Complete the Setup Wizard
As soon as the.pkg is downloaded, you can easily locate the file in the download folder and double click to start the installation procedure. This will launch Node.js installer.
Installation can be done with a single-step setup wizard process with a few steps.
Step 1: Confirm whether it allows you to begin your installation process. Continue it
Step 2: Click Agree if you understand that you accept the agreement provided by the software.
Step 3: After this, the installer will show you the installation location. Choose the default or a custom location, according to your preference, and click Install.
Step 4: You may have to enter your macOS password. Enter your password, then click Install Software.
Step 5: Upon successful installation, click Close to complete the installation.
By this point, Node.js and NPM are installed in your system, and you are ready to confirm the installation.
Verify the Installation Using Terminal Commands
You will require the use of Terminal in order to make sure Node.js and NPM are installed correctly—open Terminal for macOS.
In order to check out which version is installed in Node.js, just type:
bash
node -v
You will then see a message indicating the version of Node.js installed on your system, which indicates that the installation was a success.
To check which version of NPM has been installed in your system, type the following command in Terminal:
bash
npm -v
This will show the version of NPM, which will confirm that the Node Package Manager is also installed correctly.
Troubleshooting Tips
Sometimes, you will find something wrong with the installation or verification process. These are some of the most commonly used troubleshooting tips:
Path Problems: If you get command-not found with the attempts to node -v or npm-v, then it's possible installation is unsuccessful and that not updating the PATH environment variable by changing and following the below way will get it
Open the Terminal and use the following command:
bash
export PATH=$PATH:/usr/local/bin
This ensures that the Node.js binaries are included in your system's search path.
You can also put this line in your.bash_profile or.zshrc file, which is shell-dependent, to make the changes permanent.
Reinstall Node.js: If the macOS installer looks corrupt or incomplete, rerun it. This will overwrite all the broken files.
Once you have done this, you should have Node.js and NPM installed on your macOS system and be set to use them in all your development projects.
Common Installation Errors and Solutions
People sometimes face a few typical troubles when installing Node.js and NPM under Windows or macOS. Here is a selection of some of them, as well as their solutions:
Missing Environment Variables
One of the most frequent issues on Windows is system failure to recognize Node.js or NPM commands from the command prompt. The reason for this problem lies in the installation, which does not add a node automatically to the system's PATH. To resolve this, manually set the NODE_HOME variable in the environment settings and add C:\Program Files\nodejs\ to the PATH.
NPM Permissions Errors (Mac)
On macOS, installing packages with NPM globally can cause permission issues. The problem is usually resolved by changing the directory permissions or using a version manager like NVM that can handle installations in a non-system folder.
Version Mismatch
Sometimes, the version of Node.js and NPM may not match or fail in an update. If problems persist with versions, make sure to use NVM or Node Version Manager and simply switch between different Node.js versions to ensure consistency.
Installation Failures in Command Prompt (Windows)
If you can't get Node.js to install on Windows using the Windows installer, ensure you downloaded the correct version (LTS or Current) and check for any compatibility issues with your system architecture being 32-bit or 64-bit.
Solving these problems on both Windows and macOS systems allows you to install Node.js and NPM uninterrupted.
Testing Your Installation
After successfully installing Node.js and NPM on your computer, you must test the installation process to confirm that everything went smoothly. You can test this by opening your Command Line Interface, whether Command Prompt for Windows users or Terminal for macOS.
Check Node.js version: In your terminal, type:
node -v
If Node.js is properly installed, you should see the version number displayed (e.g., v16.13.0).
Check NPM version: Similarly, to verify that NPM is installed, type:
npm -v
It should display the NPM version, indicating everything is correct with your Node Package Manager.
If you find both version numbers, your installation has been successful. Otherwise, make sure to check all installation steps and the PATH environment variable for Node.js and NPM.
Importance of Keeping Node.js and NPM Updated
Keeping Node.js and NPM updated is essential for keeping the development environment efficient and secure. The updates ensure that the latest optimizations and bug fixes are implemented in JavaScript. Updating Node.js gives developers access to improved performance, security patches, and new features that make their applications more stable and efficient. Similarly, updating NPM offers developers access to the latest features of Node Package Manager, faster package installations, and better dependency management.
This also reduces vulnerabilities in your project since old libraries and packages will not be exploited by malicious actors. This is very important in large applications where performance and security issues are key. Whether installing Node.js through a Windows Installer, macOS Installer, or NVM (Node Version Manager), keeping up with the regular updates for Node.js and NPM will help your development workflow run smoothly and securely on any platform.
Conclusion
In a nutshell, installing Node.js and NPM across Windows and macOS platforms has become easy. On the Windows platform, the Windows Installer automatically facilitates easy installation, while verification in terms of CLI confirms the actual set-up. On macOS, using the macOS Installer and other tools like Homebrew and NVM is more than sufficient. Within just a few commands, you could then quickly begin using Node.js for JavaScript development and NPM to manage your packages and smooth up your workflow.
FAQs
Q: How do I check if Node.js and npm are already installed on my system?
A: Open your terminal or command prompt and run the following commands to check if Node.js and npm are installed:
Node -v for the version of Node.js, and
npm -v for the version of npm. Versions will appear if installed.
Q: How do I update Node.js and npm to the latest versions on Windows and Mac?
A: To update Node.js, get the most recent version on the website and install the same using the installer provided. For npm, use this command to update to the latest: npm install -g npm@latest from your terminal or command prompt.
Q: How do I uninstall Node.js and npm if needed?
A: On Windows, click "Add or Remove Programs" from the Control Panel. On macOS, a simple way to delete this installation is to delete both Node.js binaries and linked npm files from your Mac system. You can install with Homebrew as: brew uninstall node.
Q: What are the system requirements for installing Node.js and npm on Windows and Mac?
A: You should use Windows 7 or newer with a minimum of 1 GB of RAM and a processor speed of 1 GHz. For the macOS operating system, Node.js will work there on 10.10 or greater with a minimum of 1 GB of RAM and a 64-bit processor.
Recent Posts

Transform your vision into reality with Custom Software Development
Get Started
Office Address:
743A, Gera’s Imperium Rise,Hinjewadi Phase II, Rajiv Gandhi Infotech Park, Near Wipro Circle, Pune- 411057, Maharashtra, India
Ai
Services
Technologies


Copyright @2024 by Sterling Technolabs Pvt. Ltd. All Right Reserved.
Transform your vision into reality with Custom Software Development
Get Started
Copyright @2024 by Sterling Technolabs Pvt. Ltd. All Right Reserved.
Office Address:
743A, Gera’s Imperium Rise,Hinjewadi Phase II, Rajiv Gandhi Infotech Park, Near Wipro Circle, Pune- 411057, Maharashtra, India
Ai
Services
Technologies
Transform your vision into reality with Custom Software Development
Get Started
Office Address:
743A, Gera’s Imperium Rise,Hinjewadi Phase II, Rajiv Gandhi Infotech Park, Near Wipro Circle, Pune- 411057, Maharashtra, India
Technologies
Copyright @2024 by Sterling Technolabs Pvt. Ltd. All Right Reserved.
Transform your vision into reality with Custom Software Development
Get Started
Office Address:
743A, Gera’s Imperium Rise,Hinjewadi Phase II, Rajiv Gandhi Infotech Park, Near Wipro Circle, Pune- 411057, Maharashtra, India
Ai
Services
Technologies
Copyright @2024 by Sterling Technolabs Pvt. Ltd. All Right Reserved.