Create Your First Website Pages Easily Using Sitefinity
Rohan Roy
Feb 24, 2025
eCommerce
Most of the differences between a smooth and challenging development process in web development rely on choosing the appropriate content management system. One more powerful content management system includes Sitefinity, which is considered one of the most robust and flexible platforms for building dynamic, user-friendly websites. Introduced on the ASP.NET framework and intended as a sufficiently flexible platform for developers, Sitefinity provides flexibility while enabling content managers to develop, edit, and publish content easily.
Whether you're a budding developer or a veteran, Sitefinity's intuitive UI, advanced functionalities, and incorporation capabilities make it a perfect choice for building modern-scale websites. Managing content will be as paramount as its visual design if you plan to design a new website. The capability of designing, structuring, and managing content could help you create a perfectly user-friendly, SEO-rewarding website.
To design your first Sitefinity pages, we will focus on how one can build through the entire environment setting up, configuring your database, and creating a first page using the Sitefinity admin area. Of course, many helpful tips will be considered, such as navigating an admin area effectively, optimizing web pages for best SEO, page structure best practices, and best practices for planning your page. You will have learned enough to take the first steps in creating better, bolder, and brighter digital experiences with Sitefinity by the end of this post.
Sitefinity: An Overview
Before we go into the details of building pages, let's briefly examine what Sitefinity is and why it is one of the greatest CMS solutions available today. Sitefinity is a web-based application built on the ASP.NET 4 application, which is very reliable and efficient for building enterprise-level websites. It can scale and still be great for even the smallest business's single website to large, multisite applications. Sitefinity lets you manage multiple websites beneath one system, which helps businesses that may have a global presence or want to work on several projects simultaneously.
The content management capabilities make Sitefinity different. Here is how easily a content creator or developer can use this: all in one easy admin area with a powerful content management tool, thus making collaboration easy for them. This website supports the types of content, which include pages, blogs, news, events, and so many more, that help publish multiple types of content on the site. What's more, Sitefinity is super customizable. It includes a huge collection of widgets and templates, making it the choice for developers who want to build websites with unique, tailored functionality.
Another significant feature of Sitefinity is the ability to optimize search engines with their SEO optimization tools. With such features, you can easily build pages with a high chance of ranking well in search engines such as Google by automatically generating friendly URLs and managing metadata and keywords.
Now, let's explore how to build your first pages with Sitefinity and the steps you will need to get started.
Building Your First Pages with Sitefinity
Building pages is no easier in Sitefinity than building up your site structure, which takes place in the site setup step. Each page, from individual to categorized, helps you plan your content. Sitefinity's user-friendly nature makes it easy for anyone, from rookie to expert, to use the tools and resources for quick page building.
Setting the Entire Foundation of the Website
When launching any website on Sitefinity, the first thing you will want to do is set up the foundation of your site. This includes setting up your database, configuring the backend configurations Sitefinity needs, and ensuring everything is in place for the pages you will create. Sitefinity supports several database types, including Microsoft SQL Server, the default. Once set up, Sitefinity will create the necessary tables and structures to manage the site's content.
The Sitefinity environment will be configured following the database configuration. Here, you will set basic website settings, such as the name and site language. You will also set up your Sitefinity instance with the admin area to manage your content and settings.
The Very Dashing Sitefinity Dashboard
After your website is deployed, you can access the Sitefinity dashboard, the hub for all content management tasks. The dashboard is intuitive and user-friendly, ensuring quick access to the tools and resources required to manage your website. It provides an overview of your site's current status by providing information about the system's health, recent changes, and quick access to frequently used features.
The top level of the dashboard provides quick links for creating new pages, managing your site's content, and configuring settings. You can also access other parts of the section, like Pages, News, Blogs, and Events, to quickly switch between types of content. The Sitefinity dashboard will show notifications, manage user roles, and monitor website performance metrics.
You will be able to start creating new pages, manage your content, and configure the structure of your site from the dashboard. Because it is user-friendly, you can easily start building your pages without getting drowned in complex settings.
Creating Your First Website Pages
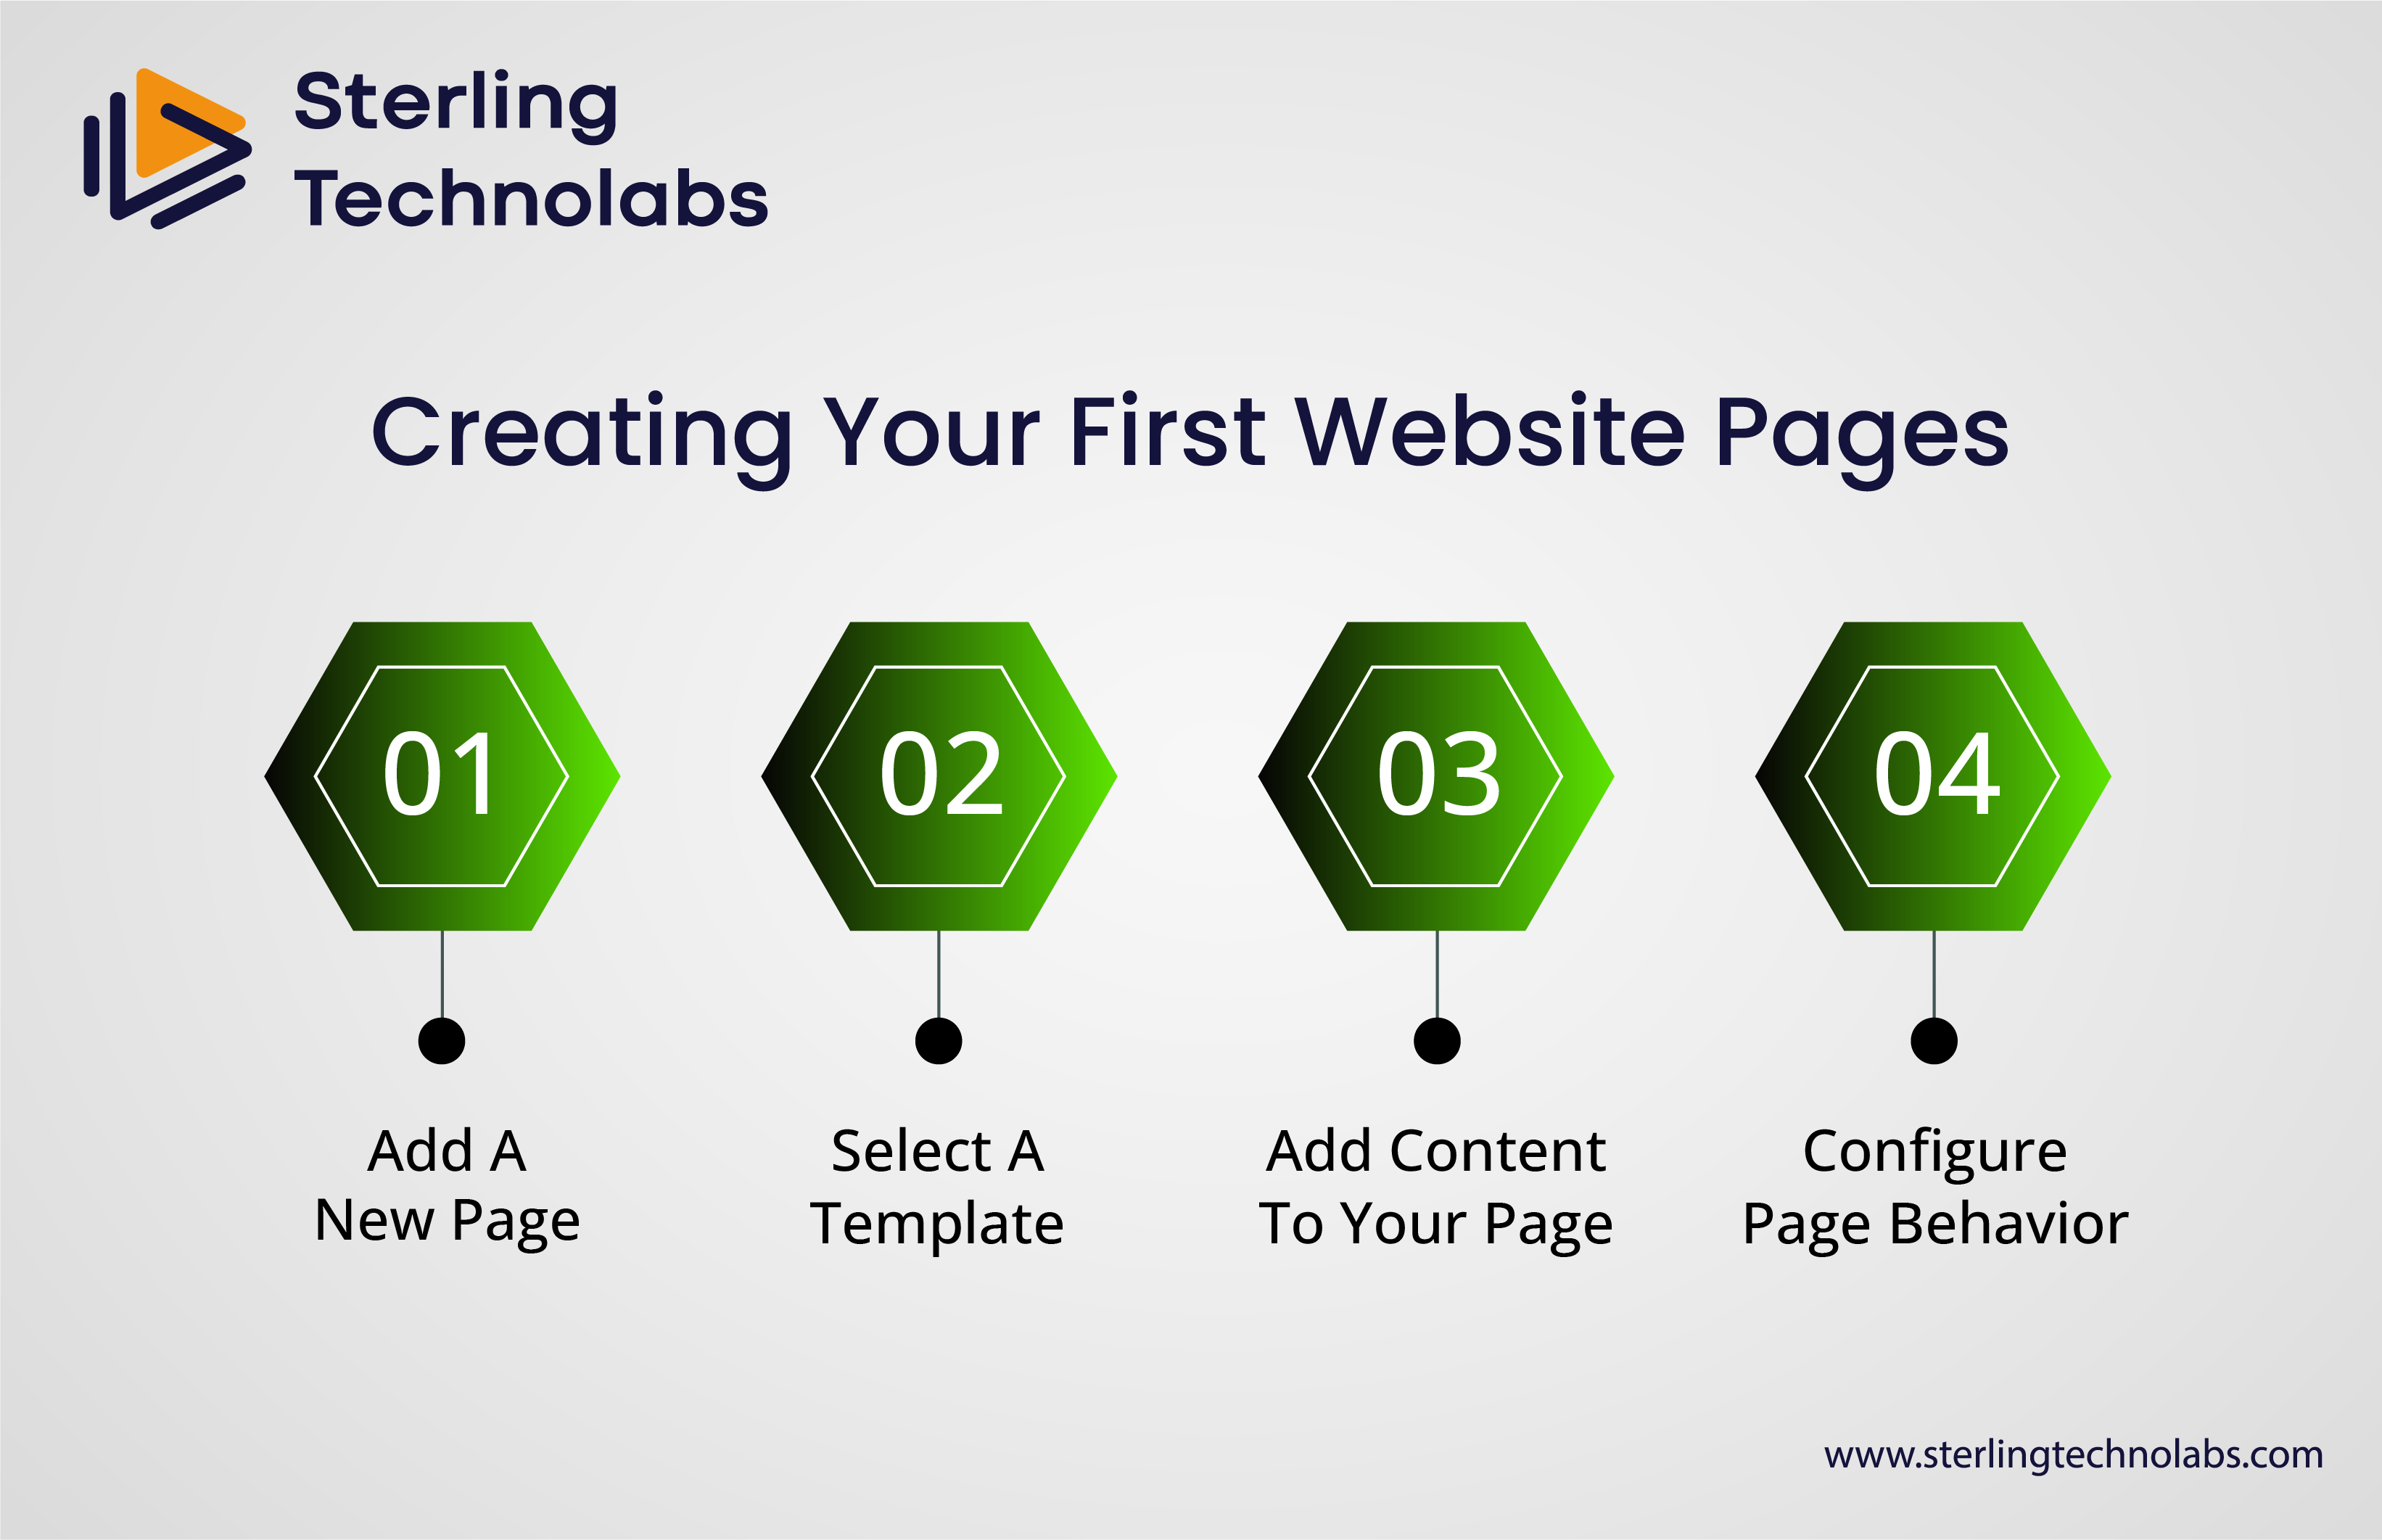
Now that you're comfortable using the dashboard, it's time to build your first pages. Sitefinity has several different page types, including standard content, landing, and dynamic pages. Here is how you start to create your first page:
Step 1: Add a New Page
To create a new page, navigate to the Pages section in the admin area. You will find an option there to add a new page. To add a new page, you may be required to specify several properties, including a page name, URL, and template. All these will help Sitefinity generate the correct structure and your page to be SEO-friendly.
Step 2: Select a Template
Sitefinity gives you the choice of pre-built templates or the ability to create your custom template. Templates define the page layout, including the header, footer, and content sections. They are highly customizable, so you can define the page structure and what types of widgets will be included.
Step 3: Add Content to Your Page
Once you select your template, it's time to add content to your page. Sitefinity uses a drag-and-drop content editor, making it very easy to add various types of content, such as text, images, videos, forms, and more. You can drag the widgets from the content panel and drop them into your page layout.
For instance, drag and drop the Text widget to the page to add a text block and begin typing. You can also include images, videos, and custom HTML code to make your page all the more interesting. Sitefinity's intuitive drag-and-drop interface will let non-technical users create rich, dynamic pages without coding something.
Step 4: Configure Page Behavior
Once you have the content, you can customize the page settings to maximize performance. Sitefinity features many options for configuring SEO-related settings, such as friendly URLs, page titles, and meta descriptions. Optimizing these settings is the surest way to make your page findable by search engines.
Sitefinity also allows page redirects, specifies access permissions, and provides page metadata. These features help ensure proper indexing by search engines, proper access permissions to the page by the target users, and proper page setup for business-specific needs.
Organizing Your Page Structure
As you increase the number of pages on your website, you should have a clean and well-organized page structure. Sitefinity can easily manage the page hierarchy, as it has easy-to-use drag-and-drop tools to reorganize the pages. You can group related pages into categories or sections so visitors can easily find what they want on your website.
Sitefinity's Website Recycle Bin makes managing pages easier. For example, when you accidentally delete a page, it is placed in the Recycle Bin, which can be retrieved without any content loss. Thus, it does not matter whether you lost important content or pages because of errors.
You can create a parent-child relationship between pages. For example, if you have a primary product page, you should create child pages for each category so your visitors don't waste time digging through related content. Sitefinity uses page structure tools to help ensure your content is logically constructed and optimized for search engines.
Configuring Advanced Settings
Sitefinity, for instance, offers other more advanced settings for configuring your pages' behavior. You could alter the page layout at a template level for site-wide consistency or develop custom widgets. You could use them anywhere on your site where content blocks would be appropriate.
Sitefinity also supports multisite configurations, letting you operate multiple websites from one instance of Sitefinity. This is good for businesses that have multiple brands or regional sites. You can create a new site in your Sitefinity instance, manage the content of this new site, and define specific settings for this site from one centralized dashboard.
Optimizing for SEO
As a critical component of building your website with Sitefinity, you should know that Sitefinity offers built-in SEO features to help you optimize pages for search engines. Through the automatic generation of SEO-friendly URLs, custom metadata, and keywords, Sitefinity makes your pages findable on search engines.
Other features in Sitefinity include integration with Google Analytics and Google Search Console, which gives you insights into how your pages work and where improvement is needed. By using these SEO features, you can improve your website's visibility and gain more organic traffic.
Conclusion
Building your first pages with Sitefinity is an exciting and rewarding process. Sitefinity provides tools, features, and functionality to help easily create, manage, and optimize your websites. From database configuration to creating dynamic pages and being optimized for search engines, Sitefinity delivers robust power to build the best websites for spectacular user experiences. Sitefinity has something for you whether you're a beginner or a seasoned developer. So, take that first step toward building better, bolder, and brighter digital experiences on Sitefinity today.

FAQs
How can I access the Sitefinity admin area after installation?
A: After installation, you will get access to the admin area by appending /Sitefinity to your Sitefinity website's URL. Once there, log into the site using the credentials you entered when installing.
What essential properties are required when creating a new page in Sitefinity?
A: The most critical properties for the new page are its name, URL, and template. These properties then form the basis of the page structure and SEO-friendly configuration.
How can I further configure page behavior by defining additional settings in Sitefinity?
A: The Page Properties section is another page setting that can be configured in Sitefinity. Here, you will find a list of elements related to meta tags and titles, friendly URLs, access permissions, and redirect rules.
What are the best practices for organizing and structuring pages in Sitefinity?
A: Best practices also include a clear hierarchical structure of pages, friendly URLs for search engine optimization, and templates to ensure the same design is kept on each page. Organizing pages in categories or sections can help with navigation.
How can I reorder and manage pages effectively in Sitefinity?
A: You may reorganize and control pages in Sitefinity using the Pages section of the admin panel. From here, you may order pages by dragging them to new locations, setting parent-child relationships, and using the Website Recycle Bin to restore mistakenly deleted pages.
Most of the differences between a smooth and challenging development process in web development rely on choosing the appropriate content management system. One more powerful content management system includes Sitefinity, which is considered one of the most robust and flexible platforms for building dynamic, user-friendly websites. Introduced on the ASP.NET framework and intended as a sufficiently flexible platform for developers, Sitefinity provides flexibility while enabling content managers to develop, edit, and publish content easily.
Whether you're a budding developer or a veteran, Sitefinity's intuitive UI, advanced functionalities, and incorporation capabilities make it a perfect choice for building modern-scale websites. Managing content will be as paramount as its visual design if you plan to design a new website. The capability of designing, structuring, and managing content could help you create a perfectly user-friendly, SEO-rewarding website.
To design your first Sitefinity pages, we will focus on how one can build through the entire environment setting up, configuring your database, and creating a first page using the Sitefinity admin area. Of course, many helpful tips will be considered, such as navigating an admin area effectively, optimizing web pages for best SEO, page structure best practices, and best practices for planning your page. You will have learned enough to take the first steps in creating better, bolder, and brighter digital experiences with Sitefinity by the end of this post.
Sitefinity: An Overview
Before we go into the details of building pages, let's briefly examine what Sitefinity is and why it is one of the greatest CMS solutions available today. Sitefinity is a web-based application built on the ASP.NET 4 application, which is very reliable and efficient for building enterprise-level websites. It can scale and still be great for even the smallest business's single website to large, multisite applications. Sitefinity lets you manage multiple websites beneath one system, which helps businesses that may have a global presence or want to work on several projects simultaneously.
The content management capabilities make Sitefinity different. Here is how easily a content creator or developer can use this: all in one easy admin area with a powerful content management tool, thus making collaboration easy for them. This website supports the types of content, which include pages, blogs, news, events, and so many more, that help publish multiple types of content on the site. What's more, Sitefinity is super customizable. It includes a huge collection of widgets and templates, making it the choice for developers who want to build websites with unique, tailored functionality.
Another significant feature of Sitefinity is the ability to optimize search engines with their SEO optimization tools. With such features, you can easily build pages with a high chance of ranking well in search engines such as Google by automatically generating friendly URLs and managing metadata and keywords.
Now, let's explore how to build your first pages with Sitefinity and the steps you will need to get started.
Building Your First Pages with Sitefinity
Building pages is no easier in Sitefinity than building up your site structure, which takes place in the site setup step. Each page, from individual to categorized, helps you plan your content. Sitefinity's user-friendly nature makes it easy for anyone, from rookie to expert, to use the tools and resources for quick page building.
Setting the Entire Foundation of the Website
When launching any website on Sitefinity, the first thing you will want to do is set up the foundation of your site. This includes setting up your database, configuring the backend configurations Sitefinity needs, and ensuring everything is in place for the pages you will create. Sitefinity supports several database types, including Microsoft SQL Server, the default. Once set up, Sitefinity will create the necessary tables and structures to manage the site's content.
The Sitefinity environment will be configured following the database configuration. Here, you will set basic website settings, such as the name and site language. You will also set up your Sitefinity instance with the admin area to manage your content and settings.
The Very Dashing Sitefinity Dashboard
After your website is deployed, you can access the Sitefinity dashboard, the hub for all content management tasks. The dashboard is intuitive and user-friendly, ensuring quick access to the tools and resources required to manage your website. It provides an overview of your site's current status by providing information about the system's health, recent changes, and quick access to frequently used features.
The top level of the dashboard provides quick links for creating new pages, managing your site's content, and configuring settings. You can also access other parts of the section, like Pages, News, Blogs, and Events, to quickly switch between types of content. The Sitefinity dashboard will show notifications, manage user roles, and monitor website performance metrics.
You will be able to start creating new pages, manage your content, and configure the structure of your site from the dashboard. Because it is user-friendly, you can easily start building your pages without getting drowned in complex settings.
Creating Your First Website Pages
Now that you're comfortable using the dashboard, it's time to build your first pages. Sitefinity has several different page types, including standard content, landing, and dynamic pages. Here is how you start to create your first page:
Step 1: Add a New Page
To create a new page, navigate to the Pages section in the admin area. You will find an option there to add a new page. To add a new page, you may be required to specify several properties, including a page name, URL, and template. All these will help Sitefinity generate the correct structure and your page to be SEO-friendly.
Step 2: Select a Template
Sitefinity gives you the choice of pre-built templates or the ability to create your custom template. Templates define the page layout, including the header, footer, and content sections. They are highly customizable, so you can define the page structure and what types of widgets will be included.
Step 3: Add Content to Your Page
Once you select your template, it's time to add content to your page. Sitefinity uses a drag-and-drop content editor, making it very easy to add various types of content, such as text, images, videos, forms, and more. You can drag the widgets from the content panel and drop them into your page layout.
For instance, drag and drop the Text widget to the page to add a text block and begin typing. You can also include images, videos, and custom HTML code to make your page all the more interesting. Sitefinity's intuitive drag-and-drop interface will let non-technical users create rich, dynamic pages without coding something.
Step 4: Configure Page Behavior
Once you have the content, you can customize the page settings to maximize performance. Sitefinity features many options for configuring SEO-related settings, such as friendly URLs, page titles, and meta descriptions. Optimizing these settings is the surest way to make your page findable by search engines.
Sitefinity also allows page redirects, specifies access permissions, and provides page metadata. These features help ensure proper indexing by search engines, proper access permissions to the page by the target users, and proper page setup for business-specific needs.
Organizing Your Page Structure
As you increase the number of pages on your website, you should have a clean and well-organized page structure. Sitefinity can easily manage the page hierarchy, as it has easy-to-use drag-and-drop tools to reorganize the pages. You can group related pages into categories or sections so visitors can easily find what they want on your website.
Sitefinity's Website Recycle Bin makes managing pages easier. For example, when you accidentally delete a page, it is placed in the Recycle Bin, which can be retrieved without any content loss. Thus, it does not matter whether you lost important content or pages because of errors.
You can create a parent-child relationship between pages. For example, if you have a primary product page, you should create child pages for each category so your visitors don't waste time digging through related content. Sitefinity uses page structure tools to help ensure your content is logically constructed and optimized for search engines.
Configuring Advanced Settings
Sitefinity, for instance, offers other more advanced settings for configuring your pages' behavior. You could alter the page layout at a template level for site-wide consistency or develop custom widgets. You could use them anywhere on your site where content blocks would be appropriate.
Sitefinity also supports multisite configurations, letting you operate multiple websites from one instance of Sitefinity. This is good for businesses that have multiple brands or regional sites. You can create a new site in your Sitefinity instance, manage the content of this new site, and define specific settings for this site from one centralized dashboard.
Optimizing for SEO
As a critical component of building your website with Sitefinity, you should know that Sitefinity offers built-in SEO features to help you optimize pages for search engines. Through the automatic generation of SEO-friendly URLs, custom metadata, and keywords, Sitefinity makes your pages findable on search engines.
Other features in Sitefinity include integration with Google Analytics and Google Search Console, which gives you insights into how your pages work and where improvement is needed. By using these SEO features, you can improve your website's visibility and gain more organic traffic.
Conclusion
Building your first pages with Sitefinity is an exciting and rewarding process. Sitefinity provides tools, features, and functionality to help easily create, manage, and optimize your websites. From database configuration to creating dynamic pages and being optimized for search engines, Sitefinity delivers robust power to build the best websites for spectacular user experiences. Sitefinity has something for you whether you're a beginner or a seasoned developer. So, take that first step toward building better, bolder, and brighter digital experiences on Sitefinity today.
FAQs
How can I access the Sitefinity admin area after installation?
A: After installation, you will get access to the admin area by appending /Sitefinity to your Sitefinity website's URL. Once there, log into the site using the credentials you entered when installing.
What essential properties are required when creating a new page in Sitefinity?
A: The most critical properties for the new page are its name, URL, and template. These properties then form the basis of the page structure and SEO-friendly configuration.
How can I further configure page behavior by defining additional settings in Sitefinity?
A: The Page Properties section is another page setting that can be configured in Sitefinity. Here, you will find a list of elements related to meta tags and titles, friendly URLs, access permissions, and redirect rules.
What are the best practices for organizing and structuring pages in Sitefinity?
A: Best practices also include a clear hierarchical structure of pages, friendly URLs for search engine optimization, and templates to ensure the same design is kept on each page. Organizing pages in categories or sections can help with navigation.
How can I reorder and manage pages effectively in Sitefinity?
A: You may reorganize and control pages in Sitefinity using the Pages section of the admin panel. From here, you may order pages by dragging them to new locations, setting parent-child relationships, and using the Website Recycle Bin to restore mistakenly deleted pages.
Recent Posts

Transform your vision into reality with Custom Software Development
Get Started
Office Address:
743A, Gera’s Imperium Rise,Hinjewadi Phase II, Rajiv Gandhi Infotech Park, Near Wipro Circle, Pune- 411057, Maharashtra, India
Ai
Services
Technologies


Copyright @2024 by Sterling Technolabs Pvt. Ltd. All Right Reserved.
Transform your vision into reality with Custom Software Development
Get Started
Copyright @2024 by Sterling Technolabs Pvt. Ltd. All Right Reserved.
Office Address:
743A, Gera’s Imperium Rise,Hinjewadi Phase II, Rajiv Gandhi Infotech Park, Near Wipro Circle, Pune- 411057, Maharashtra, India
Ai
Services
Technologies
Transform your vision into reality with Custom Software Development
Get Started
Office Address:
743A, Gera’s Imperium Rise,Hinjewadi Phase II, Rajiv Gandhi Infotech Park, Near Wipro Circle, Pune- 411057, Maharashtra, India
Technologies
Copyright @2024 by Sterling Technolabs Pvt. Ltd. All Right Reserved.
Transform your vision into reality with Custom Software Development
Get Started
Office Address:
743A, Gera’s Imperium Rise,Hinjewadi Phase II, Rajiv Gandhi Infotech Park, Near Wipro Circle, Pune- 411057, Maharashtra, India
Ai
Services
Technologies
Copyright @2024 by Sterling Technolabs Pvt. Ltd. All Right Reserved.